How to Make Still Photo into 3D Parallax Effect in Photoshop

in this 3D Parallax Effect tutorial i will show how to make still photograph into motion picture.
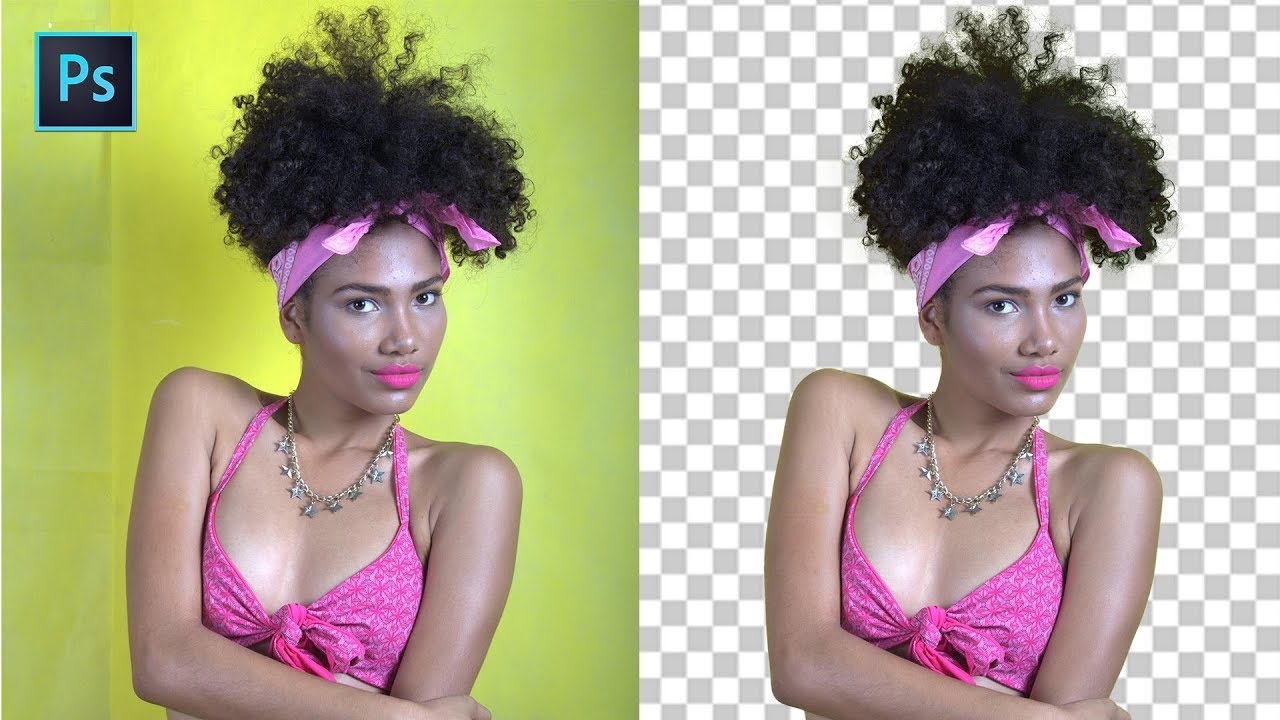
Step:1
first open image in a new document. cutout subject man from the background.
Now lets create fog in photoshop. i already uploaded tutorial on how to create fog in photoshop.
Make new layer and name it fog. Enter quick mask mode [Keyboard shortcut Q].
Goto filters and add difference clouds. Exit quick mask mode and we got new selection.
fill the selection with white. Deselect selection CTRL + D. scale fog layer with transform tool ctrl + T.
with this step we completed creating all 3 layers background, man and fog for motion picture.
Step:2
now create a new document size of HD video resolution. Drag and drop all 3 layers into new document.
Convert all 3 layers into smart object.
From window menu tab select timeline feature and click create video timeline.
all 3 layers automatically adds to timeline. Now we change the layer position and scale.
like for background i want to zoom out it. so i will add keyframe at start and reduce size and add keyframe at end.
so background transform from big to small frame by frame. similarly i will add keyframes for man layer.
but this time i will do the opposite to background. i want man to be zoom in.
now add movement for fog. add key frame at start and change position. and again add keyframe at end.
so it makes fog to travel from one point to another. click ram preview to see the parallax effect.
at very first time preview takes so much time to render because it has to apply effect frame by frame.
Once happy with the result click render video button.
Download PSD source file below and try it by yourself
[sociallocker id=”1411″][download-attachments][/sociallocker]