How to Cross Processing Effect Tutorial in Photoshop

You can use this same technique for videos also to add cross processing effects for shots.
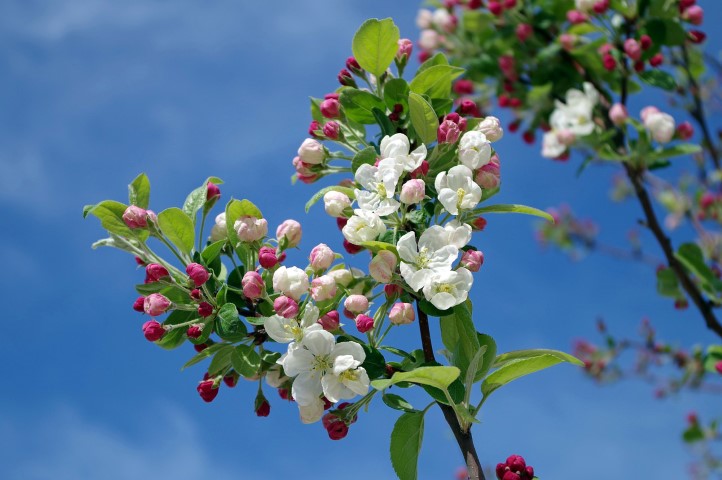
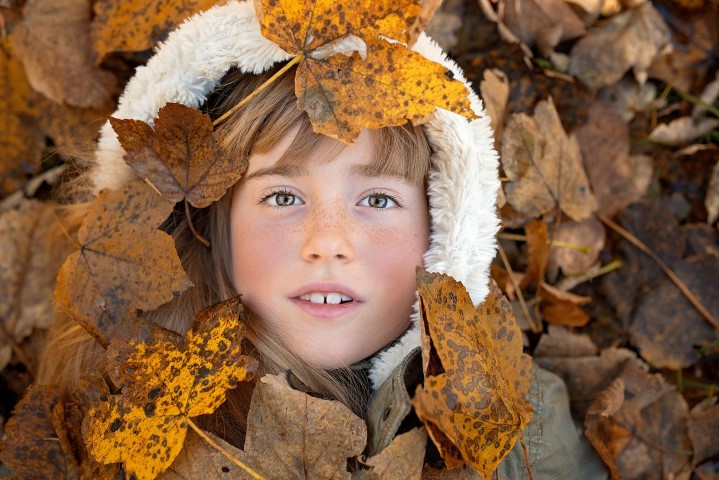
First open image,
go to adjustment layer and select curves.
i want to edit the channels separately.
in red channel make 2 points and make an “s” curve. opposite of red is cyan.
now in green channel. again add 2 points, but this time make it smaller. opposite of green is magenta.
go to blue channel. take bottom left curve, it effects the dark part of the image.
it adds blue color in shadows.
now add new layer with solid color.
fill it with light yellow.
i want this to add yellow to skintones and bright part of image.
change blending to soft light.
reduce opacity to 25%.
Add black and white layer, change blend to softlight.
reduce opacity to 50%.
add gradient map and choose black and white from presets window.
change blending to soft light.
reduce opacity to 15%.
Group all 3 layers.
again add curves layer and in RGB make an “s” shape curve.
it makes shadows darker and highlights lighter.
select blue channel, adjust curves to add more blue and yellow.
i want this effect only on boy surrounding, not on his face.
take a soft brush tool, select black and paint on face.
reduce flow to 60%.
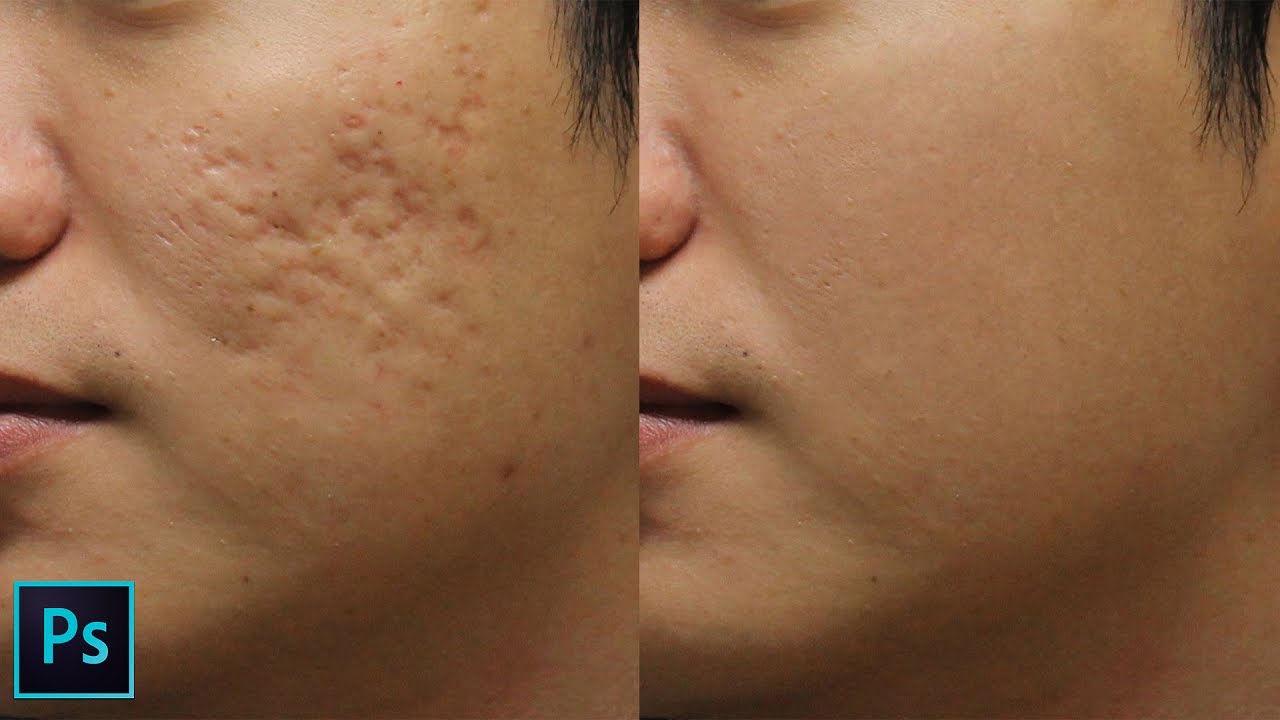
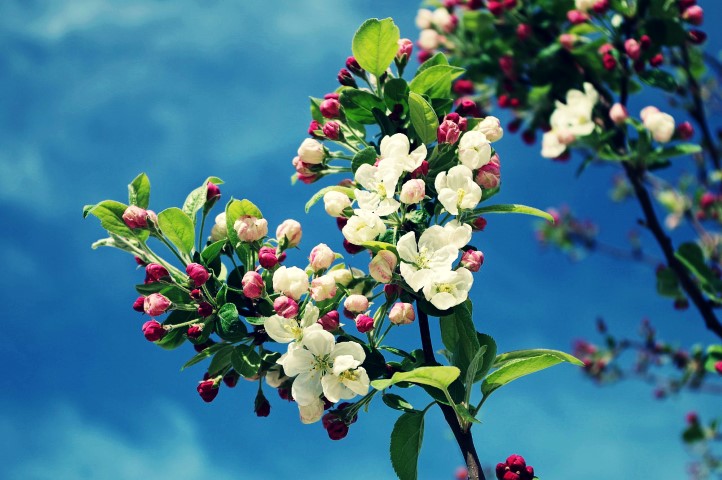
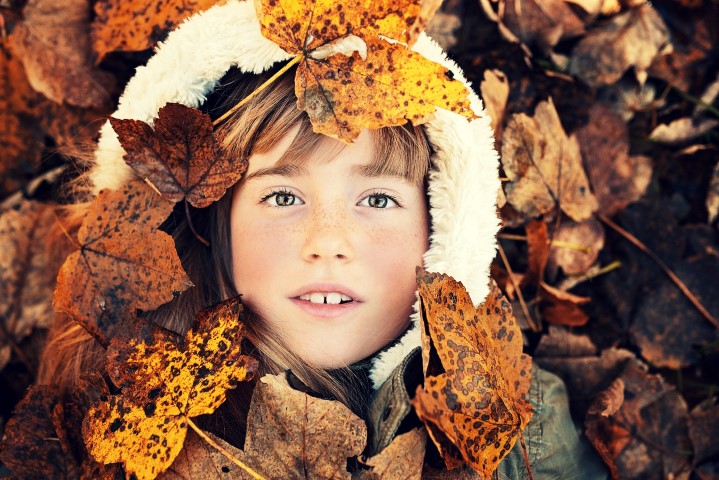
Here is before and after results.
[sociallocker id=”1411″][download-attachments][/sociallocker]