Simple Color TRICK to Complement Subject in Photoshop

In this tutorial, we will be discussing a simple color trick to make your photos look awesome using Adobe Photoshop. This trick is specifically designed for outdoor portraits and landscape photography and can give you amazing results to post on social media platforms like Instagram. If you’re a beginner photographer or just starting to use Adobe Photoshop, this tutorial is perfect for you.
Simple Color TRICK to Complement Subject in Photoshop Tutorial:
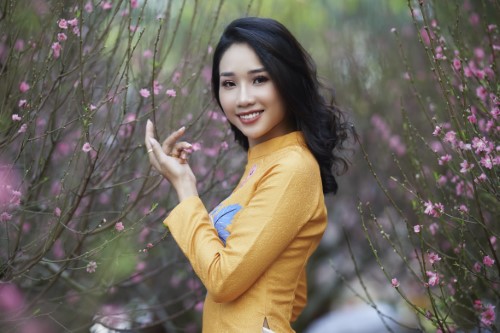
►Sample Image for Practice: CLICK HERE
To get started, download the sample image provided in the description. Once you have the image, let’s begin the editing process.
The first step is to select the skin tones in the image. To do this, go to the “Select” option in the menu bar and select “Color Range.” In the color range dialog box, choose the “Skin Tones” option and tick the “Detect Faces” box. This will automatically select the skin tones in the image. However, if you notice that other objects like flowers have also been selected, don’t worry. We will take care of it later. To copy the selection to a new layer, simply press “Ctrl + J” or “Cmd + J”.
Rename the new layer to “Skin Tones” and hide it for now. We will be using it later. Now, select the “Background Layer”. Duplicate it by pressing “Ctrl + J” or “Cmd + J”. Right-click on the duplicate layer and convert it to a “Smart Object.” Double-click on the small icon to open the layer in a new document.
In the new document, go to “Image” > “Mode” > “Lab Color.” Open the “Channels” tab and select the “B Channel.” Select all of it by pressing “Ctrl + A” or “Cmd + A”, then copy it by pressing “Ctrl + C” or “Cmd + C”. Paste it into the “A Channel.” You will immediately notice changes in the colors of the image.
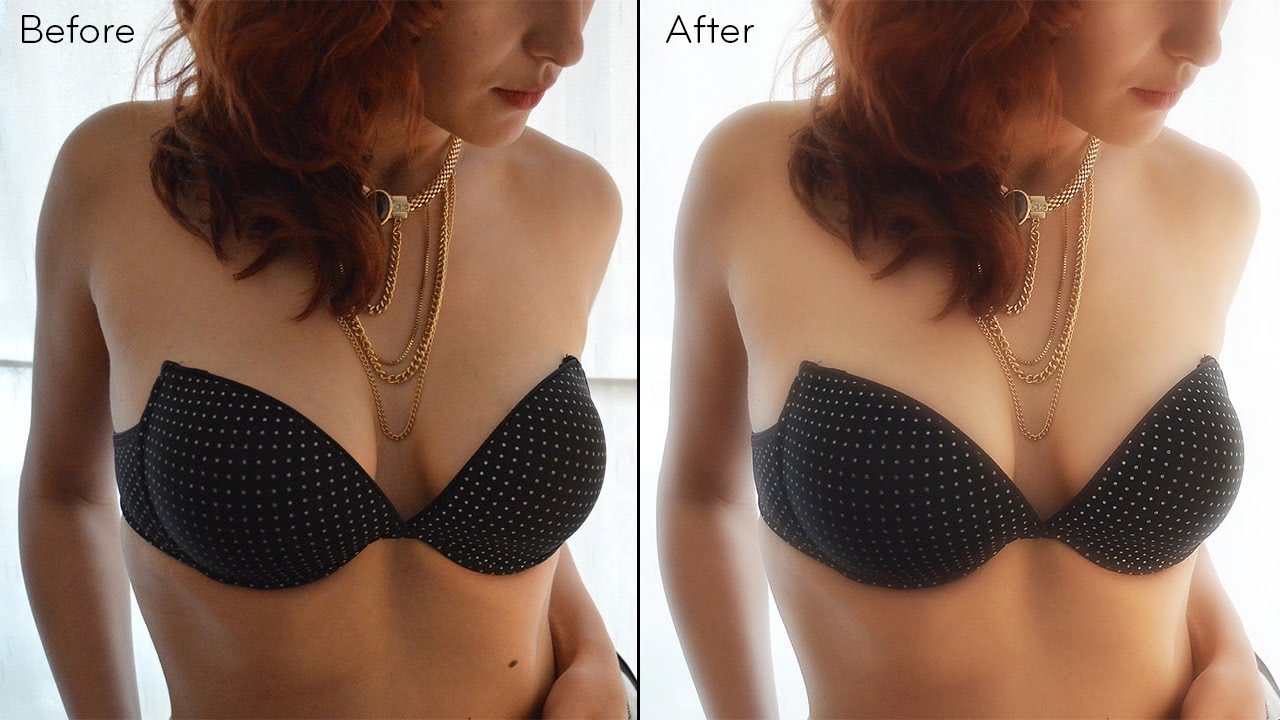
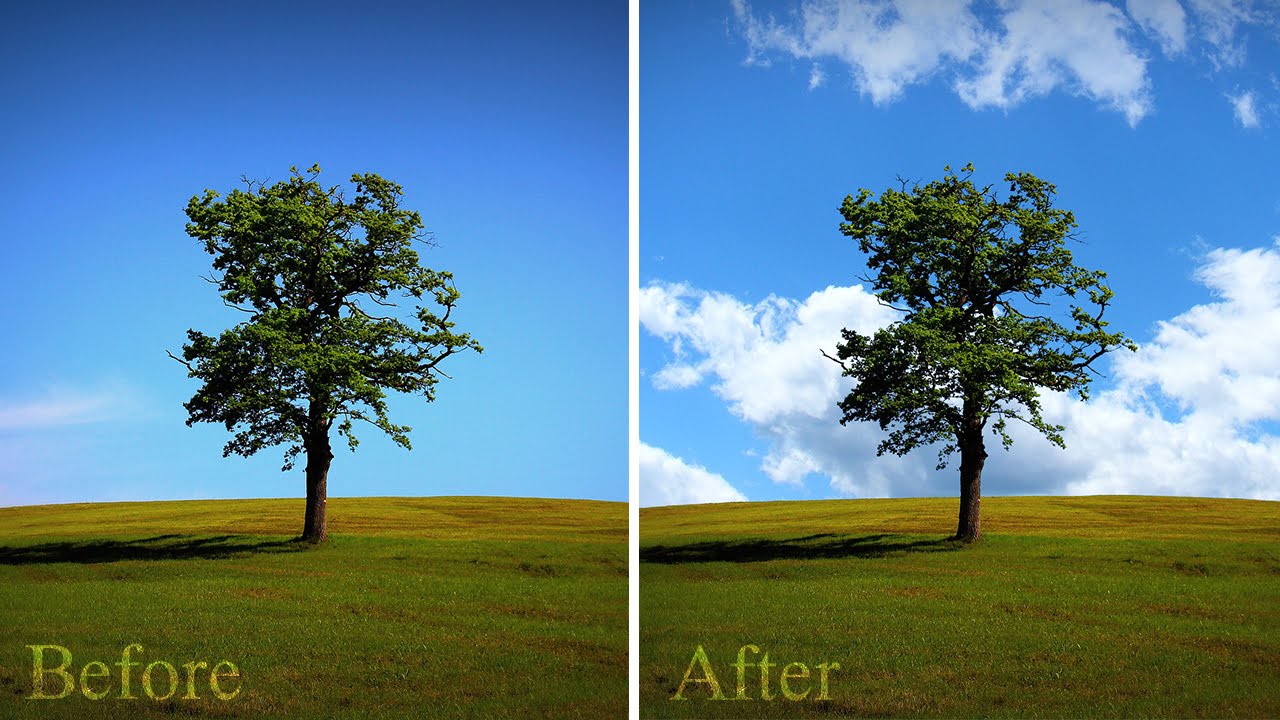
This technique is often used in landscape, portrait, and travel photography to give a warm and inviting look to the image. The goal is to achieve a desired orange color cast that complements the subject and enhances the overall look of the image. Once you’re satisfied with the color changes, press “Ctrl + D” or “Cmd + D” to deselect, and then save the image.
Go back to the original photo working document. Now it’s time to use the “Skin Tones” layer. Turn on the layer and add an inverted layer by holding down the “Alt” key and clicking on the mask icon. Take a brush and paint on the skin with a white color to reveal the skin tones.
Next, go to “Adjustments” and add a “Color Balance” adjustment layer. Play with the midtones, shadows, and highlights colors to complement the subject. Finally, to add a little bit of contrast, add a “Brightness and Contrast” adjustment layer. Here, increase the contrast by a little, around 15 should be enough.

►Download PSD file: CLICK HERE
►SUBSCRIBE to my YouTube Channel: CLICK HERE
►JOIN or Become YouTube Member for Direct Downloads: CLICK HERE
►Support Me on Patreon for Instant Downloads: CLICK HERE