Creating Selective Focus Depth Maps In Photoshop Tutorial
In this Selective Focus tutorial i will show two examples for depth map creation [Shallow depth of field effect] for landscapes and portraits.
Step:1)
First duplicate background layer. [CTRL +J]
click quick mask icon [Q}. Now select gradient tool. [G]
Choose linear for blurry feather edges.
Now drag the gradient tool on subject to focus.
Now exit quick mask mode to get selection.
Step:2)
Now goto channels and create new layer for depth map.
renaming layer – selective focus.
fill the selective focus layer with white to get mask selection.
i will use this layer as mask with lens blur filter.
Deselect selection [CTRL + D] keyboard shortcut.
Step:3)
Make sure selective focus layer invisible and rgb channel visible.
Now apply lens blur filter.
keep depth map source to selective focus [which i created earlier in step 2].
we can adjust blur radius but i’m happy with the depth of field.
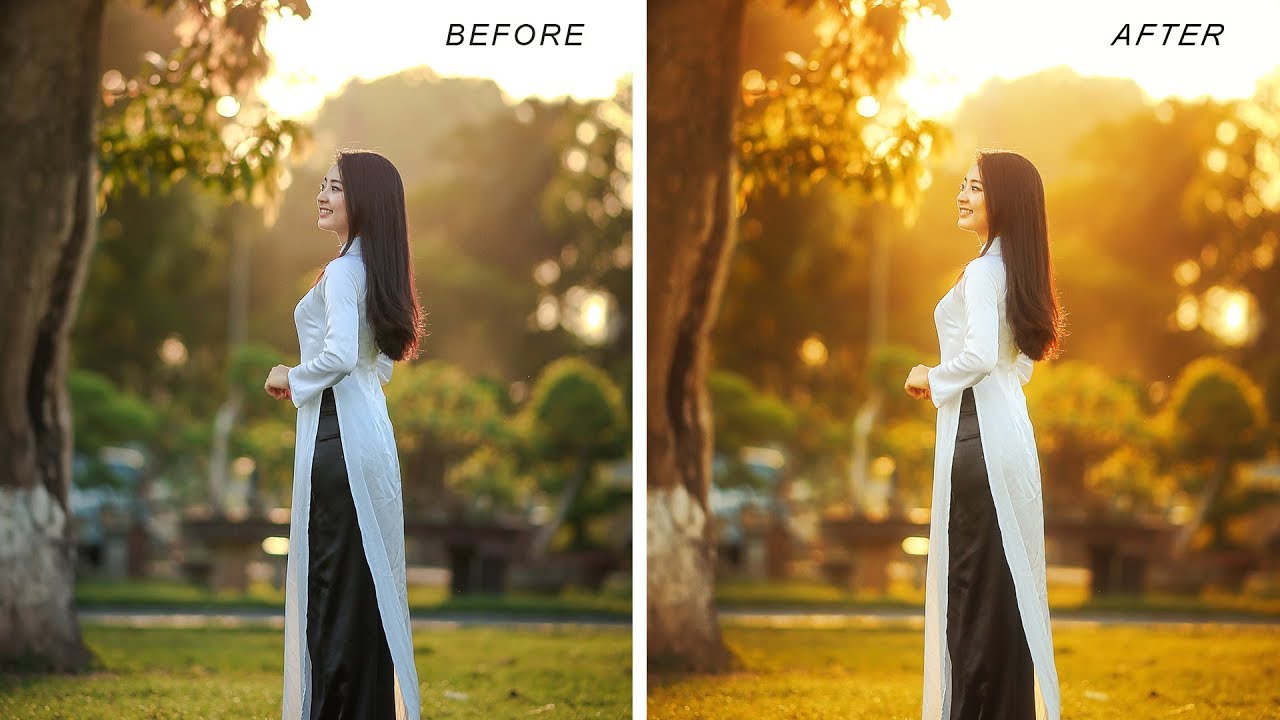
here is before & after results
you can use this method to make selective focus on any photograph.
Tip:instead of linear gradient use radial gradient shade for portraits.
[sociallocker id=”1411″][download-attachments][/sociallocker]


