How to Dilate Pupils Using Photoshop for a Mesmerizing Look

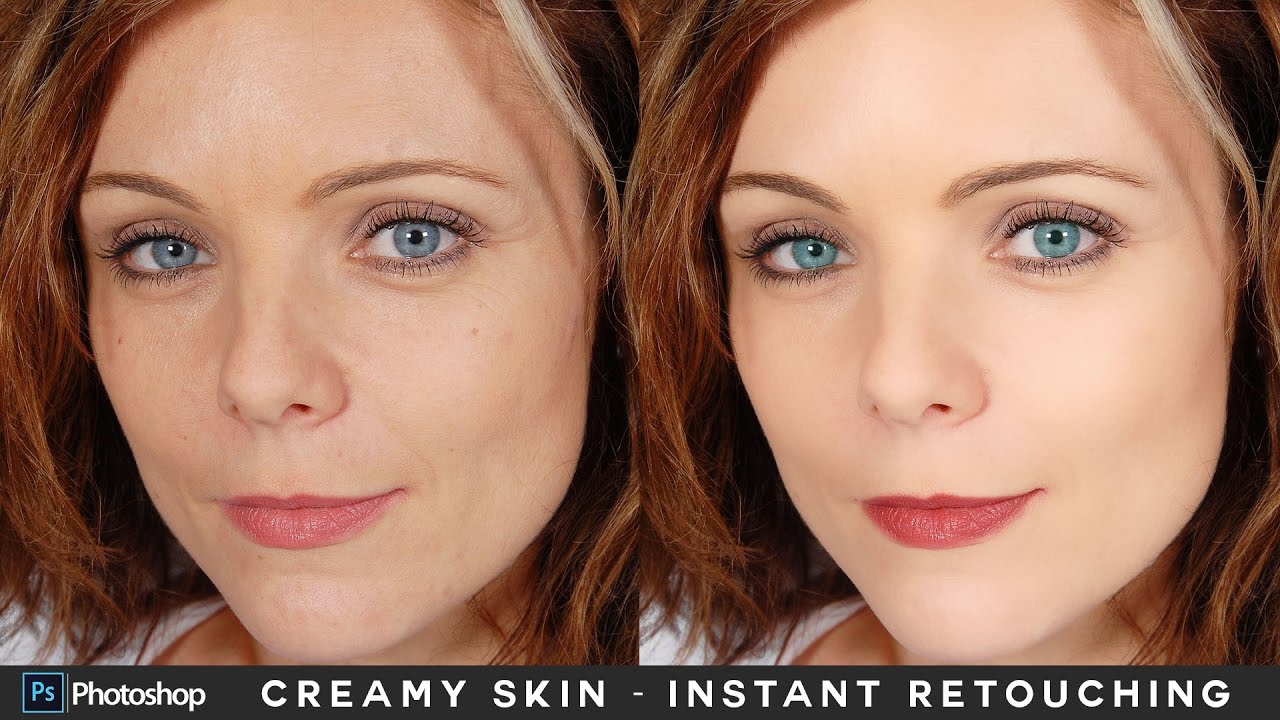
Learn how to make people more attractive by dilate pupils in just a few simple steps using Photoshop’s Liquify filter. This technique is commonly used in portrait photography and marketing materials to draw attention to the subject.
Dilate Pupils or Enlarge Pupils: Photoshop Tutorial:
1) Open your image in Photoshop and duplicate the layer by pressing “Ctrl + J” on your keyboard. Convert the layer to a smart object to apply non-destructive edits.
2) Go to the “Filter” menu and select “Liquify”.
3)Select the Freeze Mask tool and use the brush tool to paint over the areas you want to protect, such as the eyelashes or the size of the eyeball.
4)Now, select the Bloat tool from the Liquify filter’s left-hand toolbar. Set the density to 50 and the rate to 25.
5)Click once or twice with the Bloat tool to enlarge the pupils, keeping the brush size just under the size of the eyeball.
6))If needed, use the Liquify filter again to make further adjustments to the pupil size and position.
7)Evaluate the final image before making any final adjustments. Dilating pupils too much can result in an unnatural or outsized look.
8))Use this technique with moderation and always consider the subject’s unique features and characteristics.


►SUBSCRIBE to my YouTube Channel: CLICK HERE
►JOIN or Become YouTube Member for Direct Downloads: CLICK HERE
►Support Me on Patreon for Instant Downloads: CLICK HERE