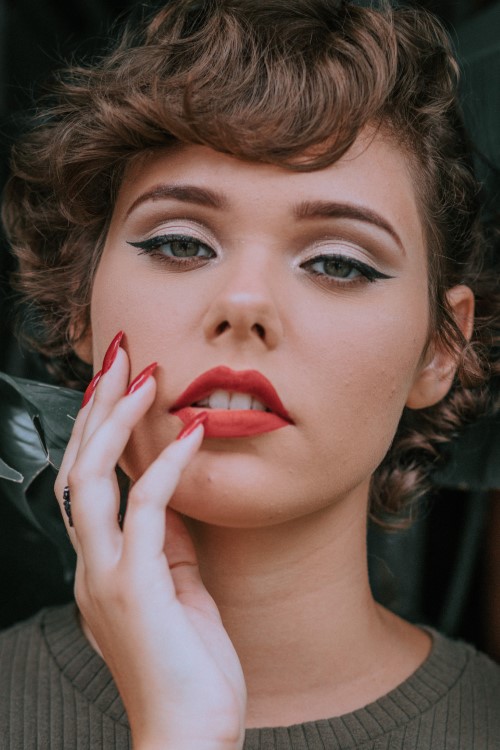
How to Dodge and Burn Like a Pro in Photoshop

In this tutorial, Learn how to use the dodge and burn technique with soft light blending and selections in Photoshop to add model-like lighting and sculpting to your photos.
Dodge and Burn Like a Pro – Photoshop Tutorial:
To get started, first open up the portrait that you want to work on in Photoshop. Once you’ve done that, the first step is to add a new layer and fill it with 50% grey. You can do this by going to the “Edit” menu and selecting “Fill”. Then, choose 50% grey and click “OK”. Next, rename this layer as “DODGE” and change its blending mode to soft light.
Moving on to the next step, right-click on the dodge layer and select “Duplicate Layer”. Rename this duplicate layer to “BURN” and click “OK”. Go to the Channels tab and click on the selection icon. This will select the highlight areas in the image and give us a starting point for where we need to dodge. Now go back to the Layers tab, select the dodge layer, and take a soft brush. Keep it in normal mode with opacity at 100% and change the flow to 10%. Slowly paint on the selected areas with white to add lighting to the skin on the highlighted areas of the face.
Next, select the background layer and go to Channels again, but this time click on the selection icon to make a selection for the non-highlight areas. Since we’ve already done this for the dodge layer, we need to inverse it to select the non-highlight areas for the burn layer. To do this, go to Select > Choose Inverse. Now go back to the Layers tab, select the burn layer, take the soft brush, and repeat the process. But this time, choose black as the foreground color. Slowly paint on the left and right shadows, and paint on the eyes as well for smokey eyes.
Select the dodge layer and take the white brush to paint on the eyes. This will whiten the white areas and brighten the iris. Sculpt beneath the eyebrows to highlight this area and also the top portion of the mouth to give a 3D skin lighting effect. Whiten the teeth a little bit, and then sculpt the nose to give it a straight look. Take your time with this step and do it patiently and slowly for the best results.
Now select the burn layer, change the color to black, and draw on the left and right sides of the nose to create an outline contour. This is a technique makeup artists use all the time, and we’re doing it in Photoshop. After playing around and experimenting, you’ll finally achieve the desired dodge and burn effect. Select both layers and right-click to select “Group from Layers”. You can lower the opacity to reduce the intensity of the dodge and burn effect. In this case, we’ll keep it at 75%.
And there you have it! Your photo is now beautifully lit and sculpted, giving it a professional and polished look. So go ahead and try out this technique after retouching or skin smoothing, and see how it transforms your photos.”
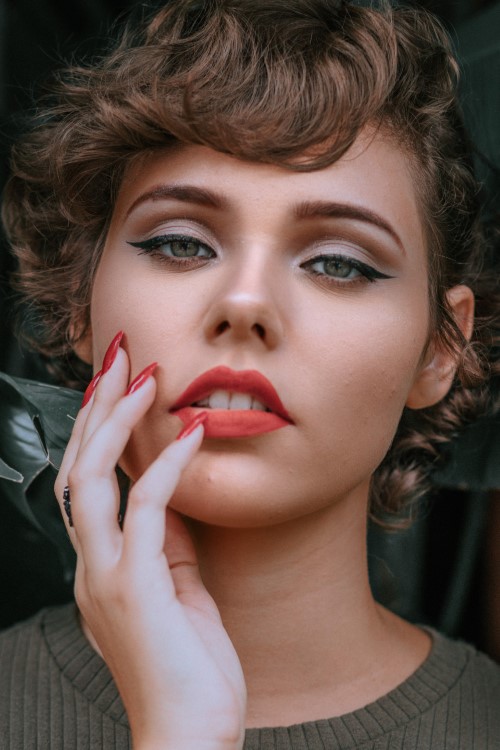
►Sample Image for Practice: CLICK HERE
►SUBSCRIBE to my YouTube Channel: CLICK HERE
►JOIN or Become YouTube Member for Direct Downloads: CLICK HERE
►Support Me on Patreon for Instant Downloads: CLICK HERE