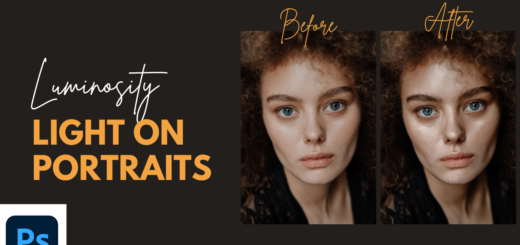
Change Look Of your Photos in Photoshop with 2 Tools

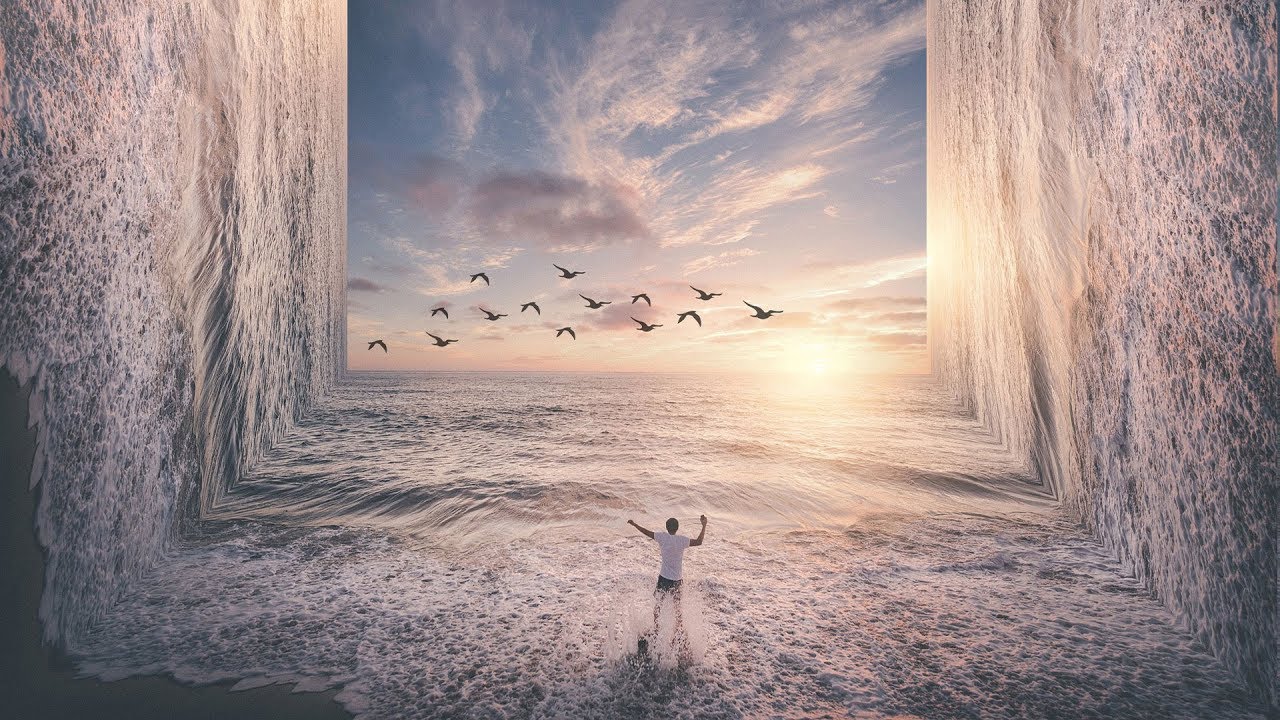
In this tutorial, Learn how to Change Look Of your Photos in Photoshop with 2 Tools. We will learn how to add vibrancy, contrast, and other effects using just two tools. In this tutorial, we’ll be taking a look at an example photo that could use some improvement, as it currently lacks the dynamic range and contrast we want in a great photo.
Change Look Of your Photos – Photoshop Tutorial:
To start, select the background layer and duplicate it. Convert the new layer to a Smart Object and double-click on the thumbnail of Layer 1 to open up a new window. Go to Image Adjustments and select “HDR Toning” to adjust the radius, strength, tone, and details of the photo. Make one small tweak by selecting the “Smooth Edges” option before saving the changes. HDR toning is a non-destructive way to add vibrancy and depth to your photos.
Replacing the sky can be a great way to add a dramatic effect to the image. To achieve this in Photoshop, select the background layer and go to Edit > Select Sky Replacement. Select your desired sky, then move the Sky Replacement folder to the top of the layers panel. Add “Lens Blur” to the Sky layer to create depth of field.
To give the photo a cinematic look, use the “Color Lookup” option and blend the colors with the highlights or shadows of the image. Check the Layer Mask and ensure that the sky has no white areas.
The “after” photo will have more vibrancy, contrast, and dynamic range than the original image, and look more eye-catching and professional.


►Sample Image for Practice: CLICK HERE
►Download PSD file: CLICK HERE
►SUBSCRIBE to my YouTube Channel: CLICK HERE
►JOIN or Become YouTube Member for Direct Downloads: CLICK HERE
►Support Me on Patreon for Instant Downloads: CLICK HERE