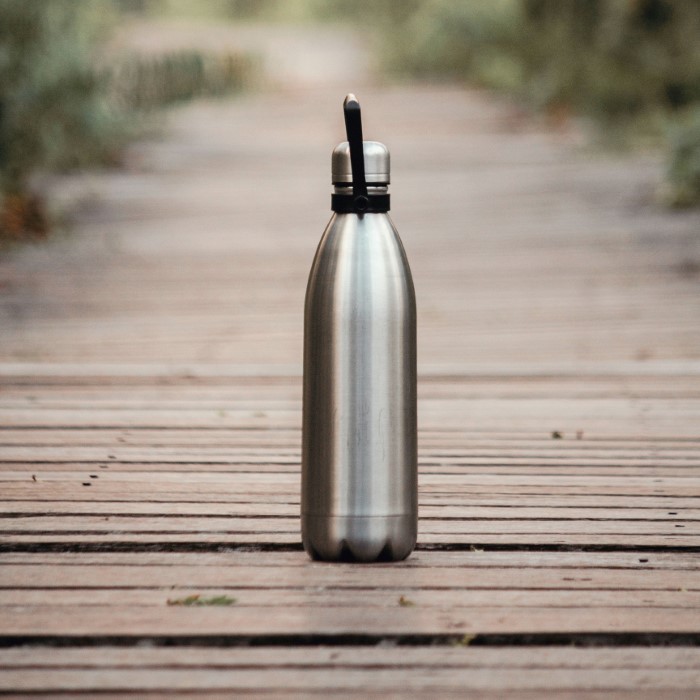
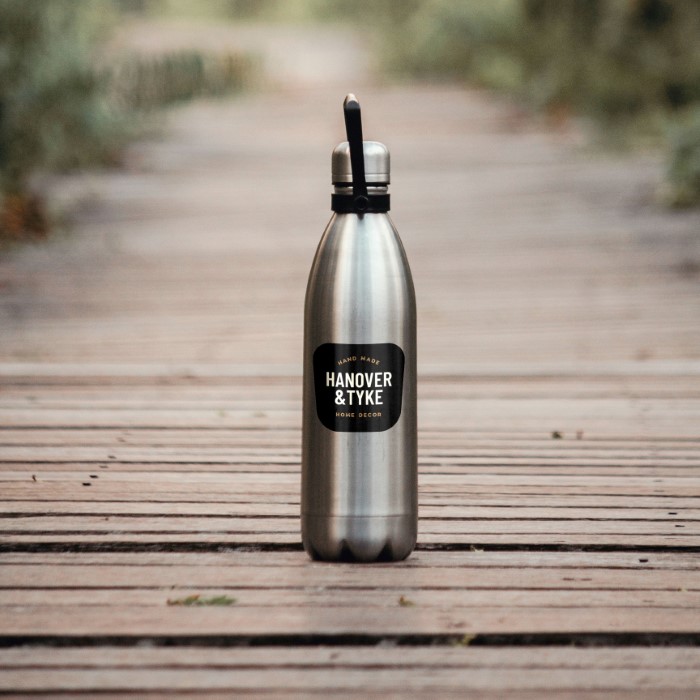
How to place a logo on a bottle in Photoshop
In this video, I’ll show you how to easily place a logo on a bottle in Photoshop. Whether you’re a beginner or an experienced user, this tutorial is designed to help you learn how to take your photo editing skills to the next level.
place a logo on a bottle – Photoshop Tutorial:
To start, we’ll need to open the image you want to add text to. Don’t worry about the background, we’ll remove it quickly using the ‘Select Subject’ option in Photoshop. Once we’ve made the selection, we’ll copy and paste it onto a new layer.
Next, we’ll enable the type tool and add the word “nature” over the image. We’ll duplicate the text layer, place it beneath the subject layer, and reduce the fill to zero percent to create a cool masked text effect. By linking the two text layers, we can easily move them together and position them exactly where we want.
To make our text even more awesome, we’ll apply a stroke effect to the top text layer and adjust the settings to our liking. Finally, we’ll change the blending mode of the text layer to “overlay” for a more cohesive look.
And there you have it! An awesome masked text effect with a stroke and blending mode applied. I hope you found this tutorial helpful and easy to follow.
►SUBSCRIBE to my YouTube Channel: CLICK HERE
►JOIN or Become YouTube Member for Direct Downloads: CLICK HERE
►Support Me on Patreon for Instant Downloads: CLICK HERE


