How to Removing or Lessening Wrinkles with Healing Brush
In this tutorial, we’ll learn how to use the Healing Brush in Photoshop to reduce the appearance of dark and distracting wrinkles in your portraits.
Let’s begin by adding a new blank layer above the Background layer. we can do our retouching work on this new layer and keep it separate from the original image.
Select the Healing Brush Tool from Tools panel. By default, the Healing Brush is hiding behind the Spot Healing Brush Tool.
Change The Sample Option For The Healing Brush To “All Layers”. Leave “Aligned” Unchecked.
Click On An Area Of Good Texture To Sample It. To sample an area of good texture, press and hold your Alt (Win) / Option (Mac) key on your keyboard.
This temporarily turns your brush cursor into a small target symbol.
you’ll want to choose an area close to the wrinkle so that you’re sampling texture from the same part of the face Paint Over The Wrinkle To Heal It
we can bring back more of the original skin texture around the wrinkles by changing the blend mode of the layer from Normal (the default mode) to Lighten.
It’s a good idea to sample your good texture from different areas as you make your way from one wrinkle to the next, as this will help to avoid any repeating patterns on the person’s skin.
Depending on the length of the wrinkle and the amount of good texture available, you may not be able to cover the entire wrinkle with one continuous paint stroke. In those cases, use a series of shorter strokes,
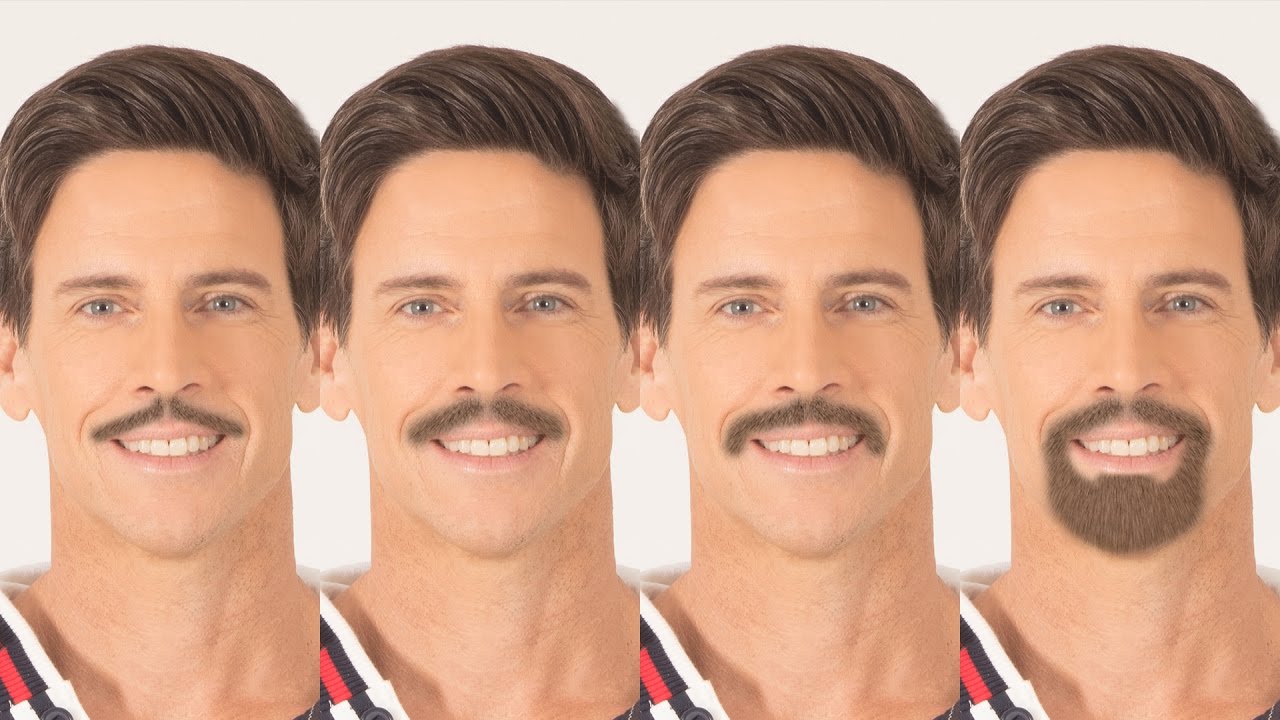
Finally, bring back the wrinkles to look portrait natural, simply lower the opacity of the layer.
here is before and after.
[sociallocker id=”1411″][download-attachments][/sociallocker]


