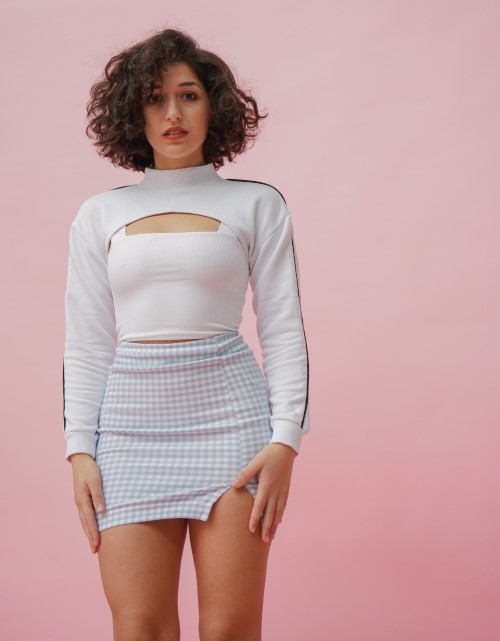
How to Change Color of Dress in Photoshop – Camera Raw Lightroom

Want to know how to change color of a dress in Photoshop? Check out this step-by-step tutorial using the Camera Raw or Lightroom module. You’ll learn how to select objects and adjust colors to create a vibrant new look for your photos!
Change Color of Dress: ACR or Lightroom Tutorial:
Open the photo you want to edit in Photoshop. If you’re a Lightroom user, you can open the photo in Lightroom.
Duplicate the layer by right-clicking on the layer and selecting “Duplicate Layer”.
Convert the duplicated layer into a smart object by right-clicking on the layer and selecting “Convert to Smart Object”.
Open the layer in Camera Raw or Lightroom by going to the filter menu and selecting Camera Raw.
Once you’re in Camera Raw or Lightroom, select the “Masking” tab in the right panel. This will bring up a set of tools that you can use to make selections in your image.
From the “Masking” tab, select the “Objects Selection Tool” by clicking on the icon. This tool allows you to make accurate selections of objects in your photo that you want to apply adjustments to.
Use the “Brush Select” mode to make a selection of the dress. This mode is ideal for making precise selections of irregularly shaped objects such as a dress.
Click on the “Add” button in the “Masking” panel. This will allow you to select the areas of the image that you want to work on. Once you click on “Add”, choose the “Select Objects” option from the drop-down menu that appears.
Start painting over the areas that you want to select, using the brush tool. If you want to change the color of a dress, paint over the dress using the brush tool.
Adjust the brush size using the slider or by pressing the left or right bracket keys on your keyboard.
Repeat the process of selecting the object until the entire dress is selected. You may need to refine your mask and remove unwanted areas such as skin or hair.
To refine your mask and remove unwanted areas, click on “Subtract” on your Masks floating panel and choose “Select Objects” again. This will allow you to paint on the areas that you want to subtract from the mask.
Take your time with this step and make sure that you have a clean and accurate selection.
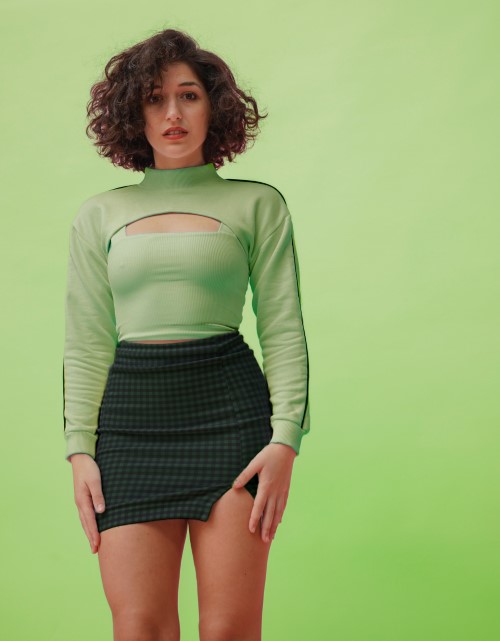
When you’re done with the selection, it’s time to start making the adjustments to the masked area. You can do this by adjusting the hue, saturation, and luminance sliders in the “Basic” tab of the Camera Raw or Lightroom module.
Once you’re happy with the new color of the dress, save your changes and enjoy your vibrant new photo!
►SUBSCRIBE to my YouTube Channel: CLICK HERE
►JOIN or Become YouTube Member for Direct Downloads: CLICK HERE
►Support Me on Patreon for Instant Downloads: CLICK HERE