Make Your Subject Stand Out: Photoshop Techniques for Pop Photos

Make Your Subject Stand Out: Today, we’re diving into the world of ACR/Lightroom and exploring the magic of the halo effect. Imagine, being able to make your subjects stand out like a diamond in a pile of coal.
Make Your Subject Stand Out in Adobe Photoshop Lightroom Tutorial:
We’ll show you how to create depth, separation and make your subject pop in just a few easy steps. But don’t worry, you don’t need to be a professional photo editor to do this. All you need is the latest version of Lightroom or ACR and a little bit of creativity. Get ready to take your photography to the next level!
And by the way, if you want to follow along with me go ahead and download image files and all links in the download section (below).
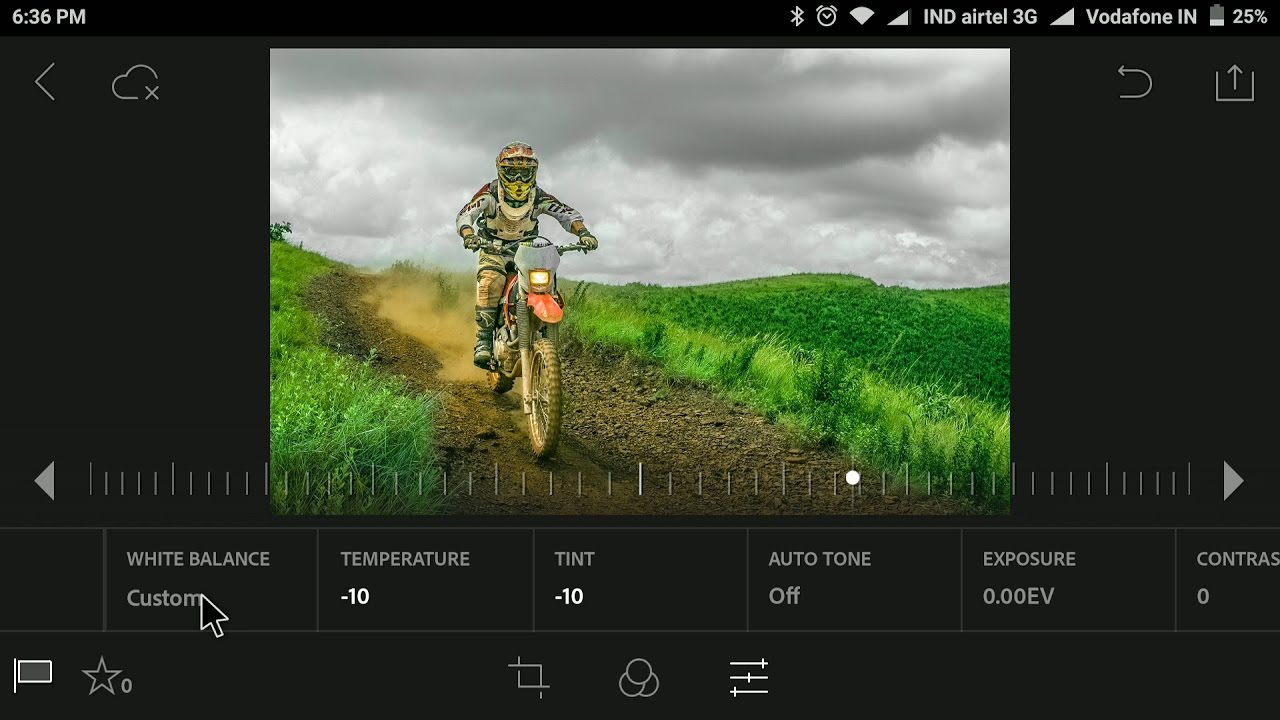
Street photography is known for being busy and crowded, Without proper techniques and editing, the subject may blend in with the surrounding environment and not stand out as intended. and this technique is perfect for images like this where the separation between subject and background can be improved. Please note this technique can be done in lightroom and adobe camera raw. So if you’re lightroom guy then use lightroom, or if you’re photoshop user then use camera raw.
So first make a duplicate copy CTRL or Command + j. convert it to a smart object. allows you to make non-destructive edits to the original image while preserving its original quality. Now open it in camera raw filter. so let’s start off by opening up the mask filters. choosing select subject, and camera raw has done a pretty good job with the selection considering it’s quite dark at bottom. kindly note in some case cases we’ll just need to tidy up a few of the edges which will make things even more effective. This doesn’t need to be pixel perfect just enough for a clean selection. Everything looks fine to me. now here comes the fun part now we’re going to invert the mask so everything else is now selected apart from the subject.
Then the key part of the process intersect mask with radial gradient filter then simply draw a radial circle behind the
subject to create a halo effect. Let’s increase the exposure. now you would think the effect would be produced
by using the exposure slider actually has quite a distracting and oversaturated. Instead of using exposure, better way
is to use the dehaze slider which creates more realistic depth and haze in the background espically for street and nature photography and changing some basic adjustments like whites, blacks and some contrast really nice separation between subject and background.
Now a few more final edits in this image. Add one more select subject mask and boost those whites for more contrast a little bump on the overall shadow slider and go head and change any colors if you want. In this case i’m quite happy with this over cast colors. and finally increase the blacks for more punch. Click ok to apply the changes. all edits are non-destructive edits so we can change any adjustment easily. simply double click on smart layer.
Here is before and after.


►Download This Tutorial Photo 1 for Practice: Click Here
►Download This Tutorial Photo 2 for Practice: Click Here
►SUBSCRIBE to my YouTube Channel: CLICK HERE
►JOIN or Become YouTube Member for Direct Downloads: CLICK HERE
►Support Me on Patreon for Instant Downloads: CLICK HERE