Elevate Your Editing with Horizontal Curves in Photoshop

In this video, today we will learn how to use just two sliders to create dreamy fog photos or realistic foggy effect in Photoshop in no time. So without any further ado, let’s get started.
Editing with Horizontal Curves in Adobe Photoshop Lightroom Tutorial:
I will provide a download link for the image (check the end of the post for links) which I’m using in this tutorial.
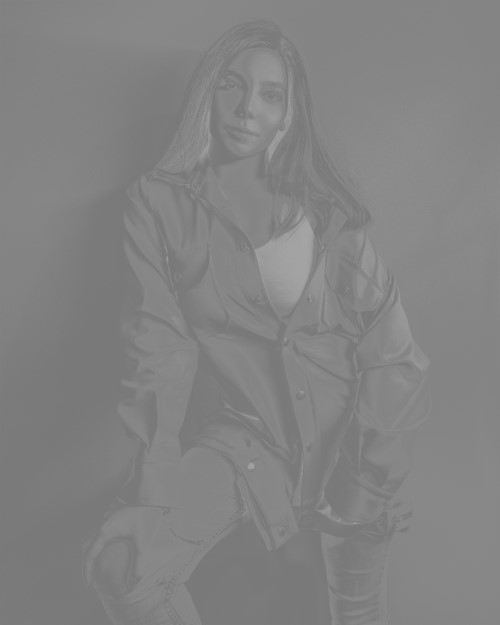
First of all, create a hue/saturation adjustment. take the saturation to minus hundred change the blend mode of the hue/saturation adjustment layer to soft light create a curves adjustment layer on top of it create a clipping mask make sure the curves adjustment layer just affects the hue/saturation adjustment layer and then in the curves properties make it straight make the curves horizontal and then you can just adjust the highlights shadows and mid-tones right side highlights left side shadows. And that’s how you simply Elevate Your Editing with Horizontal Curves in Photoshop. I hope this tutorial made sense to you and if it did, do make sure to give us a like and also don’t forget to subscribe and not just subscribe, and ring the bell so that you, my friend, don’t miss any other future tips, tricks or tutorials.

►Download This Tutorial Photo for Practice: CLICK HERE
►SUBSCRIBE to my YouTube Channel: CLICK HERE
►JOIN or Become YouTube Member for Direct Downloads: CLICK HERE
►Support Me on Patreon for Instant Downloads: CLICK HEREd