How to Match Skin Tones – Change Skin Color in Photoshop

In this photoshop color editing tutorial, i will show you quick and accurate way to match skin tones with selective color. Simple technique for matching tones and changing colors.
Match Skin Tones Photoshop Tutorial :
00:00:15
How to match skin tones in Photoshop.
00:00:22
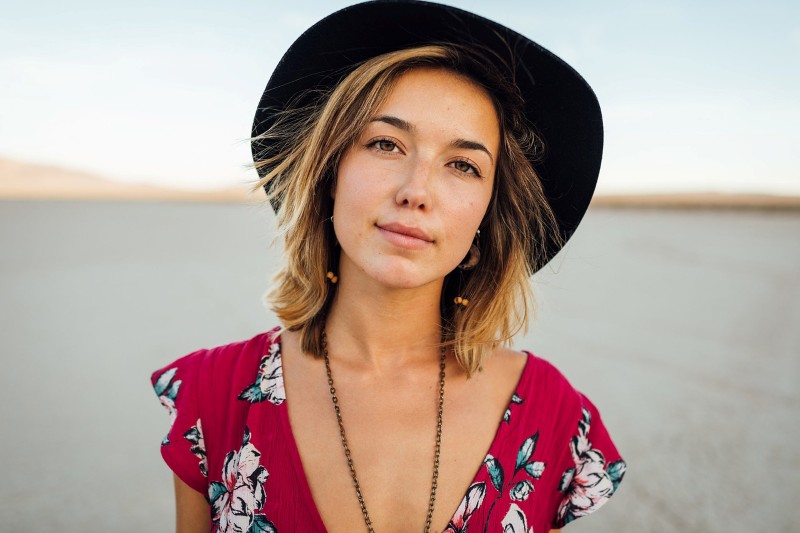
First select image as reference to change skin tones.
00:00:35
Now sample skin tone from reference photo.
00:00:51
Take brush tool.
00:01:02
Hold Alt or Opt key to sample color.
00:01:14
Now similarly sample original skin tone.
00:01:49
now we are going to match original color with sample color.
00:02:00
go to adjustments and select selective color.
00:02:08
now adjust settings for whites and neutral to change skin color mid tones and highlights.
00:02:37
keep eye on sample colors.
00:02:58
now colors are same.
00:03:18
Once finish matching the colors, then go to selective color layer mask.
00:03:33
add apply image command to the mask.
00:03:43
now the effect is applied to lighter parts of the image like skin tones. Then click ok.
00:03:50
we just matched the skin tones.
00:03:54
Let’s add lip color to original image.
00:04:02
Select hue/saturation from adjustment panel and adjust settings as follow.
00:04:23
now invert layer mask to hide the effect (CTRL + I).
00:04:34
take soft brush and paint on lips with white color.
00:05:19
Alt/Option + Click on layer mask to display.
00:05:25
You can mask any unwanted or add necessary details using overlay brush.
00:06:16
That’s it. We’re Done.

[sociallocker id=”1411″][download-attachments][/sociallocker]