Photoshop Ai Masking Trick! Subject Selections Cutouts
In this tutorial, I’ll show you how to cut out subjects from backgrounds using Photoshop AI. Extracting subjects from busy backgrounds, especially with difficult hair, can be challenging. Traditional methods like select and mask often result in rough edges and halo effects when placing the subject against different backgrounds.
Photoshop Ai Masking Trick Tutorial
To simplify the process, we’ll utilize the contextual taskbar in Photoshop AI. First, go to Window and enable the contextual taskbar. Once activated, a floating menu bar will appear.
Next, select “Remove Background” from the contextual taskbar. Photoshop will automatically mask the subject and remove the background. Hold the ALT key and click on the layer mask to view the mask. Click again to close it.
Create a Solid Color adjustment layer from the options in the bottom-right corner. Choose a 50% grey color in the Color Picker box. This specific shade will be explained later in the tutorial. Click OK.
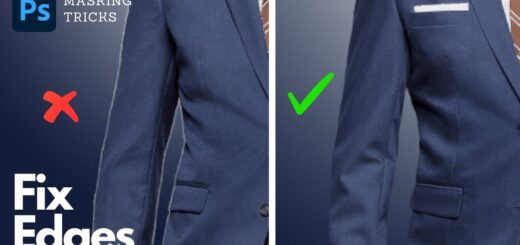
Drag the Color Fill 1 layer beneath Layer 0. Zoom in to inspect the masked edges. You’ll notice rough edges and some missing parts of the hair, which are not ideal for composites.
To address this, enable quick mask mode. The active layer will turn red, indicating quick mask mode is active. Double-click on quick mask to open its options dialog. Select “Selected Areas” as the option and keep the color and opacity settings as they are.
Make Layer 0 active by clicking on it. Then enter quick mask mode by clicking on the quick mask icon. Use a soft-edge brush to paint on the areas that need fixing. Painting with black increases the selected area, while painting with white increases the masked area.
To make selections, switch back to the black color and paint on the desired areas. When you turn off the Quick Mask, everything within the opaque red color is selected, indicated by marching ants. Once you have the selection, click on Generative Fill. Leave the text field blank for the first attempt; if you encounter any errors, you can enter a prompt like “hair.” Click on Generate.
Generative Fill offers three options to choose from. However, these options generate completely new content, which may not match the original hair. To preserve the original shape and look, delete the generative layer, activate quick mask mode again, and choose a color closer to white (around 60-70%). Adjust the brush size and paint on the areas to be fixed. Turn off the Quick Mask, click on Generative Fill, leave the text field blank, and click on Generate.
Inspect the three options and select the one that closely resembles the original hair. Repeat this process for other areas, such as fixing edges and dresses, always using quick mask mode and Generative Fill.
Once all the fixes are done, there is a drawback to consider. When changing the background color, the AI-generated content will have a grey background instead of transparency. That’s why we added a 50% grey background at the beginning of the tutorial. You can easily remove it using select and mask, avoiding halo and fringing issues associated with black or white backgrounds.
Group all the layers and create a stamp visible copy. Use the shortcut Ctrl + Shift + Alt and go to the Select menu, choose “Select and Mask.” Set the overlay view mode, select the subject, refine the hair, and scroll down to output settings. Use the “decontaminated colors” option if necessary, but it may not be needed if you have already addressed the fringing and halo effects. Set the output to “new layer with layer mask” and click OK.
Finally, hide the group, change the background color as desired, or save the image as a transparent .png file if no background is needed for composites or swapping backgrounds.
That’s it! By utilizing Photoshop Beta’s Generative Fill, you can effectively mask out subjects from challenging backgrounds and enhance your creative photo editing. Remember to subscribe, turn on notifications, and stay tuned for more Photoshop tips, tricks, and techniques. Like, share, and comment if you found this helpful. Take care, and happy editing!
►SUBSCRIBE to my YouTube Channel: CLICK HERE
►JOIN or Become YouTube Member for Direct Downloads: CLICK HERE
►Support Me on Patreon for Instant Downloads: CLICK HERE


