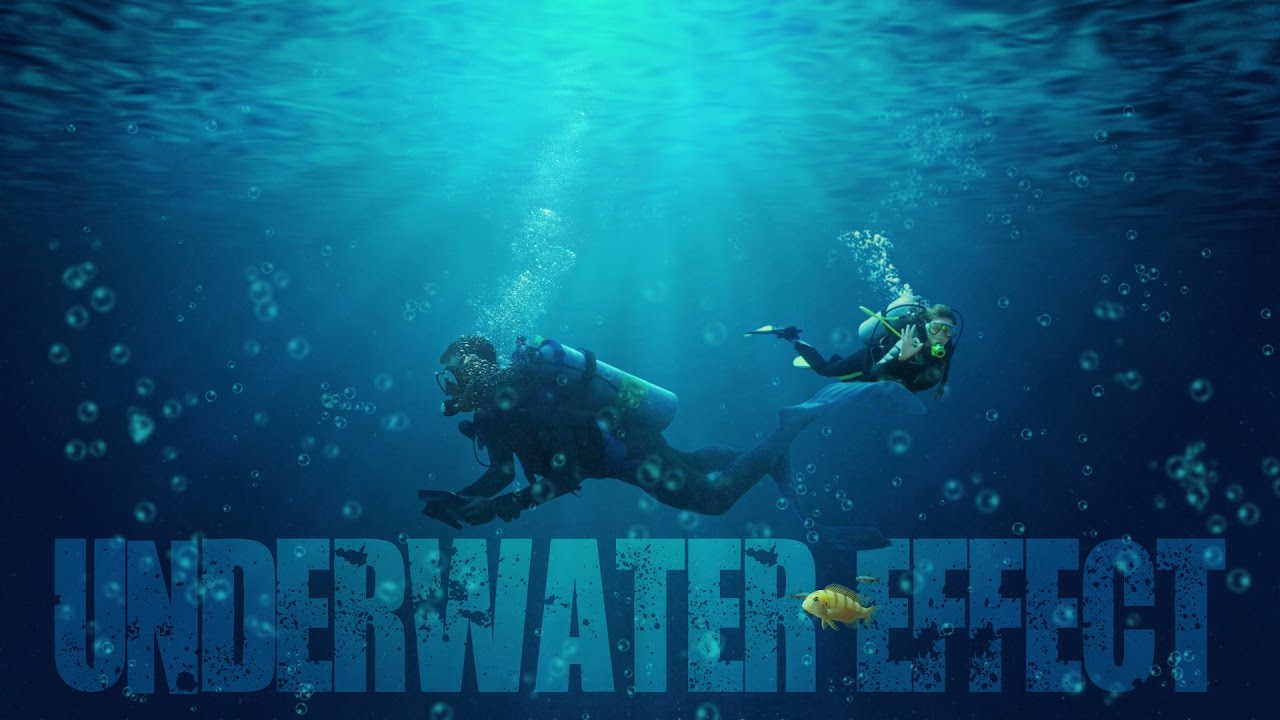
Underwater Effect Scene – Photoshop Manipulation Tutorial
In this tutorial I’ll show you how to use Photoshop filters to create an Underwater Effect background that you can use for your own artwork.
Underwater Effect Manipulation Tutorial :
Create a new document in Photoshop, set your own size and fill it with any color you like.
Make a new layer on the top and fill it with cyan color.
use an adjustment layer to darken the canvas. Go to Layer > New Adjustment Layer > Select Curves :
On this Curves layer mask, active the Gradient Tool (G ). Choose radial Gradient to paint on the mask to reveal some light on the top.
use a Levels adjustment layer to increase the contrast and light of the image.
we’ll add texture to this scene. If you look closely at some underwater photographs, you’ll see the noise, debris, etc…
To imitate this effect, make a new layer and fill it with black.
Then go to Filter > Noise > Add Noise
Convert this layer to a Smart Object and Go to Filter > Blur > Gaussian Blur and set the radius to 1.5 px:
Change this layer mode to Screen and reduce the opacity around 10% and we have a very soft noisy look.
To add some debris to the scene, duplicate the noise layer and increased the opacity to maximum (100% )
Add a mask to this layer and use a linear gradient tool and drag on the mask to reduce some noise on top parts as shown.
use a Levels adjustment layer with Clipping Mask to reduce the noise intensity.
To make light at the bottom, create a new layer, use a radial gradient tool to paint there. Change this layer mode to softlight.
Lower the layer opacity to around 50%.
Now we’ll make the water surface. Press D to turn the background and foreground color to default (black and white).
Make a new layer on the top and fill it with black. Go to Filter > Render > Clouds
apply a new filter by choosing Filter > Sketch > Chrome
Use the Free Transform Tool (Cmd/Ctrl+T) to transform it as shown below.
Convert this layer to a Smart Object .
Apply a Gaussian Blur of 1 px to this effect.
Apply Motion Blur
Use a layer mask to soften its edges.
Change this layer mode to Soft Light.
use Levels to refine the contrast of this effect.
On this layer mask use a gradient tool to reduce the Levels influence as shown.
we’ll make some bubbles now. Create a new document in Photoshop and fill it with black.
Use the Elliptical Tool to draw a circle and fill it with black.
Soften this circle with a Gaussian Blur of 7 px.
Add a mask to this layer and use a soft black brush to erase inside the circle and leaves some edges visible.
Use a white brush to make two highlights at the edges of the bubble
Go to Edit > Define Brush Preset and name it whatever you want.
Come back to our main background
Choose the bubble brush we’ve just created.
Create new blank layer
Set the foreground to cyan
Click on brush presets and change the settings
Paint some bubble on the background
Convert this layer to a Smart Object and apply a Gaussian Blur to it to add some depth to the scene.
Make another layer and lower the brush size to paint more bubbles on the background.
Use a layer mask to reduce some bubble visibility.
Add a Photo Filter adjustment layer to change the background color
In next step we’ll make some light rays coming from top of the water
Make a new layer on the top and use the soft brush to make several selections with the color #b6eeee
Convert this layer to a Smart Object and apply a radial Blur to it with zoom method.
Apply a Gaussian Blur also to soften edges.
change this layer mode to Soft Light or overlay which suits best to your artwork.
Final step add some more light at top of the light and change this layer mode to Soft Light.
All layers are editable. So we can change lighting, color and contrast at any time easily.
Now we can add any objects or subjects in the scene. I already made a scuba diving cutout to place it in the artwork.
Place it above the background group.
Use hue/saturation layer to adjust the colors
And We’re Done! I hope that you enjoyed the tutorial.
[sociallocker id=”1411″][download-attachments][/sociallocker]


