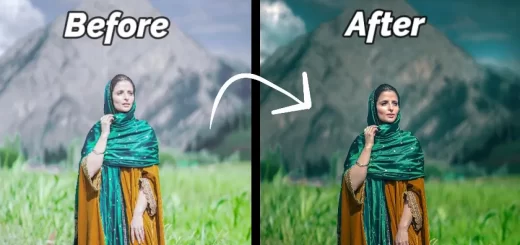
Boring Portrait To AWESOME using Adjustment Brush Tool

In this video, learn how to edit your boring low light photos easily & quickly using Adjustment Brush tool in photoshop or lightroom.
Adjustment Brush Tool Portrait Editing Tutorial :
CLICK HERE TO WATCH TUTORIAL
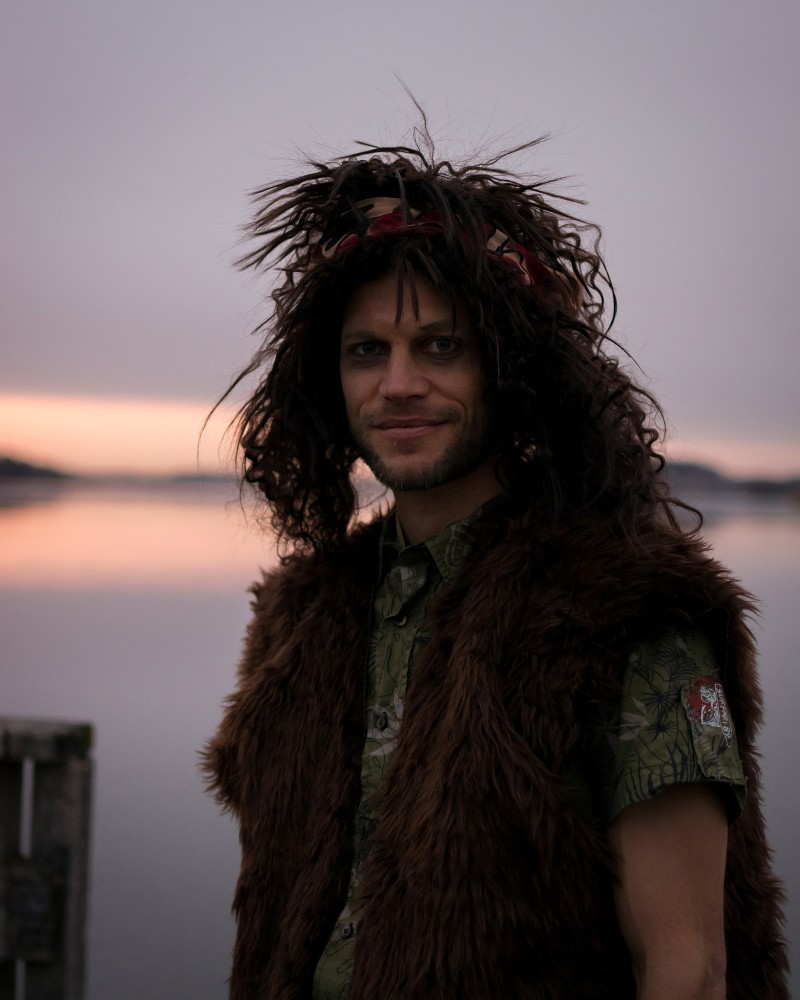
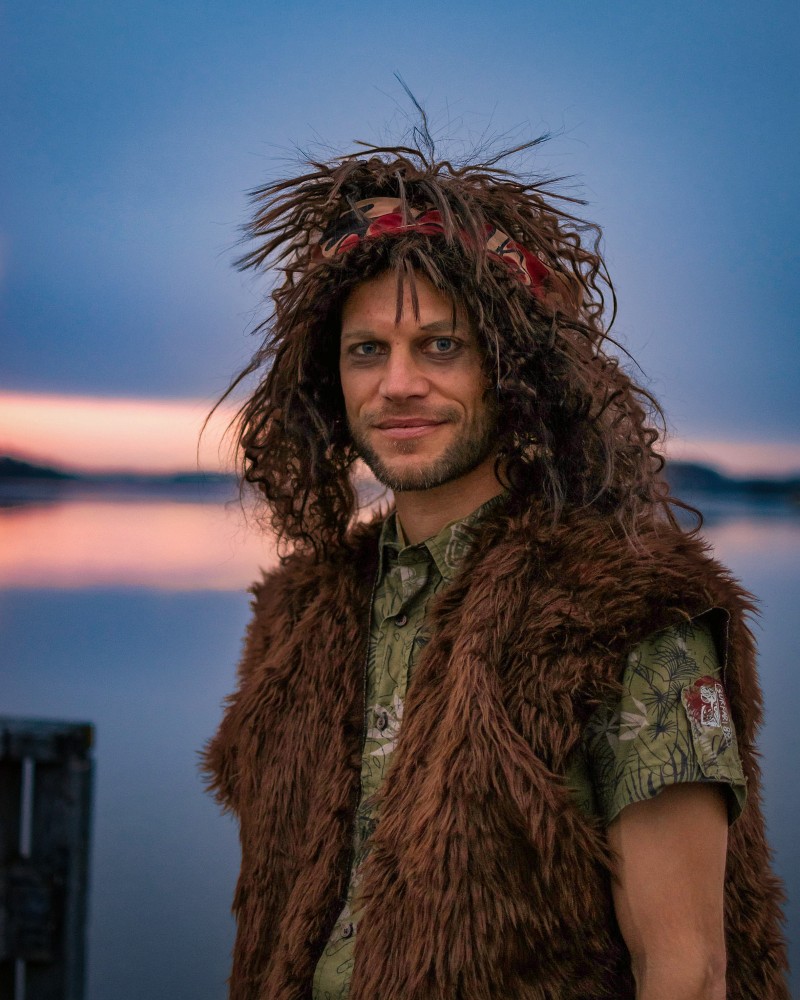
In this photograph there is very less light in the overall scene, especially on foreground subject. When there’s not much ambient light to capture then you have 2 choices: create more light yourself while taking shots or take the shot with right camera settings and then post process it. We can selectively apply Exposure, Clarity, Brightness, and other adjustments in the post processing.
Ok lets get started. If you want this photo to practice on, you could download from the link given in the description.
First duplicate background layer CTRL + J and convert to smart object. Then go to filter menu – select camera raw filter.
For lightroom users, Select a photo to edit in the Library module and press D to switch to the Develop module.
Select the Adjustment Brush tool. choose new to create a new adjustment.
Keep all the settings to zero.
Specify brush size to your preference. Keep Feather,Flow and density to default.
Key ingredient here is Auto Mask. It Confines brush strokes to areas of similar color.
By Enable, it will automatically select where to apply the changes, and where to mask them out.
Now increase shadows value to Recover details in underexposed shadow areas of an image.
Start painting on the subject to make corrections.
To view the mask overlay of the Adjustment Brush tool effect, use the Show Selected Mask Overlay option in the toolbar.
To undo any part of the adjustment, select the Erase brush option, and paint over the adjustment.
Once you’re happy with the brush application.
Now Add other necessary adjustments to the effect.
Adjust whites value, to increase the white to a specific area.
Increase Clarity little bit to Add depth by increasing local contrast.
Decrease highlights value to Recover details in overexposed highlight areas of an image.
We successfully created an adjustment to lighten a person to make it stand out in a portrait.
Now similarly enhance the background sky in a photo.
Select new to create a another new adjustment.
Change every setting to zero.
Increase Dehaze amount, it reduces existing haze in a photo and adds blue color to sky.
Now Start painting on the background to make corrections.
Adjust the color temperature to making it cooler.
Add Clarity little.
Go to basic adjustments panel. Select effects and add vignette effect to draw viewer attention to the center of the frame.
Once you’re happy with the result. Click ok to apply the changes.
Local adjustments are non-destructive and are not permanently applied to the photo.
If you want to make any changes simply double click on camera raw smart filter.
Select adjustment brush. Click on pin to select it.
Change any setting to your preference.
Final step, add color lookup adjustment and select any look from the list to color tone the image.
That’s it. We’re done.
[sociallocker id=”1411″][download-attachments][/sociallocker]