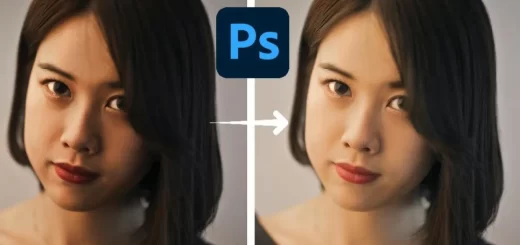
Create Stunning Portrait with Basic Adjustments in PS & LR
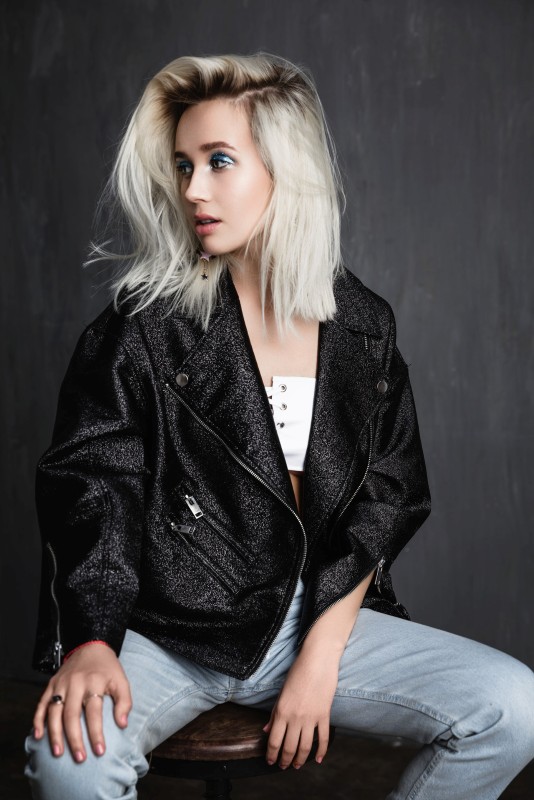
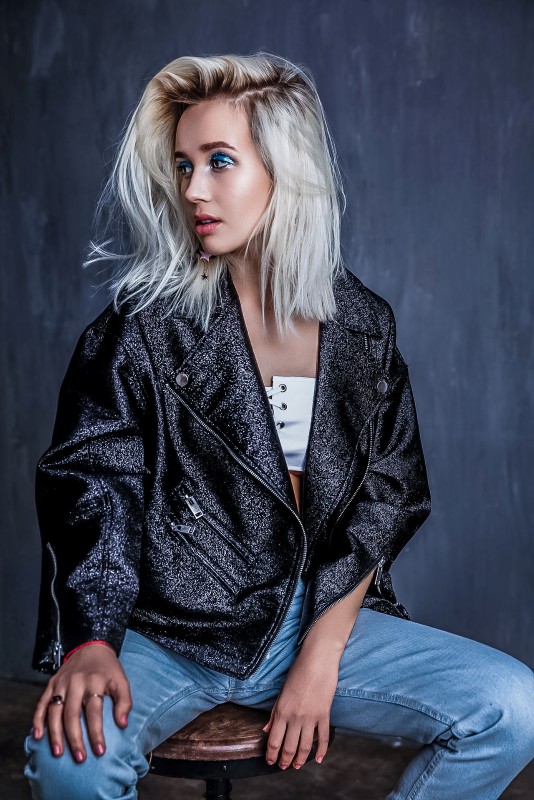
In this photoshop photo editing tutorial, learn how to edit your portraits into awesome using basic adjustments in photoshop and lightroom.
Edit Portrait with Basic Adjustments Tutorial :
CLICK HERE TO WATCH TUTORIAL
How to make your portrait looks professional and stylish using basic adjustments in photoshop & Lightroom.
First open your photo in photoshop or lightroom.
Duplicate background layer and convert to smart object.
Now open image in adobe camera raw filter.
The Camera Raw dialog box appears same as the Develop module in Lightroom.
I’l use the Highlights slider (-100). So that the brightest brights will darken up and show more detail.
I’l use the Shadows slider (+100). It will make shadows brighter, so you can recover details in too dark places.
It gives extremely natural HDR effect and can bring out just as much detail as tonemapping.
Raise white slider (+30) little bit. Slide it to the right to increase highlights clipping (same as levels).
Lower black slider (-40) little bit. Slide it to the left to increase shadow clipping.
Keep Clarity (+30). It adds depth to a photography by increasing local contrast.
Keep Vibrance (+50). To turn up the strength of the colors without adding a lot of color casting.
Tune temperature slider (-10) to the left, the image will become cooler.
Use the tint slider (+4) by moving it to the right, this will add little bit magenta.
Now let’s look at sharpening the image.
Keep Amount: 90. This is the basic control that amount sharpening applied to your image.
Keep Radius: 1.0. A setting of 1 affects only that particular pixel.
Keep Detail: 30. This is the fine adjustment tool to add fine detail to the sharpening process.
Keep Masking: 40. It will back off any over sharpening in less detailed regions of the image.
The Noise Reduction section has controls for reducing image noise.
Keep Luminance: 20 to reduces luminance noise with details set to 50.
Color Noise Reduction slider will be set to 25 with Detail and Smoothness set at 50 for all images.
That’s it. we’re done.
[sociallocker id=”1411″][download-attachments][/sociallocker]


