Create Unlimited Dramatic Color Grading Styles in Photoshop
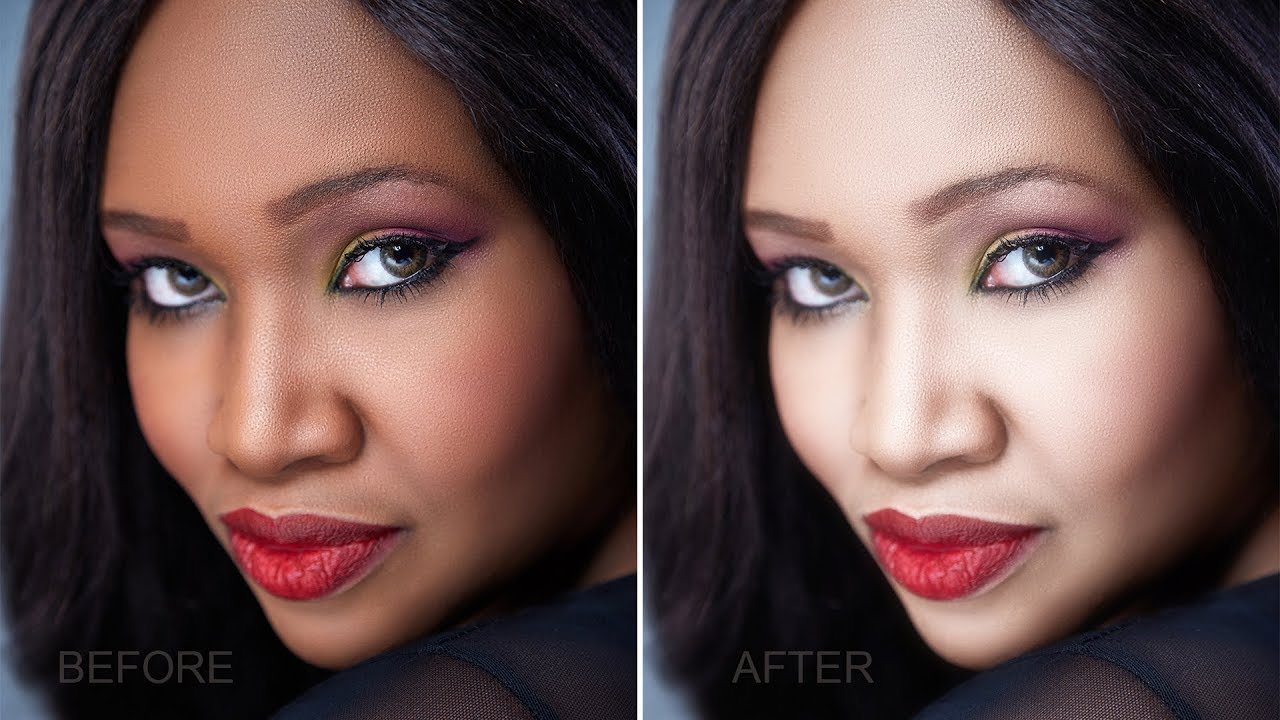
In this photoshop tutorial, I’ll show you how to use Adobe Photoshop to create unlimited dramatic color grading styles.
Color Grading Trick – Photoshop Tutorial:
First, open up your image in Photoshop and click on the adjustment layer icon, which is located at the bottom of the Layers panel. From the drop-down menu, choose Gradient Map.
Next, change the blend mode from Normal to Hard Mix. This will give us a more intense look for our color grading. Then, decrease the fill, not opacity fill, as it controls the projection. Let’s decrease it to about 32.
Now, let’s open up the gradient map properties by double-clicking on the icon. Once the Gradient Editor is open, click on the gradient bar inside the Gradient Editor. This will allow us to make some changes to the gradient map.
Change the gradient type from Solid to Noise, and adjust the roughness to about 5 percent. You can always adjust this later to your liking.
Once you’ve made these changes, start clicking on Randomize. This will generate unlimited dramatic color grading styles for you to choose from.
Once you’re satisfied with the look you’ve created, hit OK. If you want to protect the highlights and shadows, double-click on the right-hand side of the gradient map layer. In the Blend If section, hold down the Alt key (or Option key on a Mac) and click on the left and right sides of the underlying layer. This will break it apart, and you can take both of these all the way apart.
Simply hit OK and go back to the gradient map properties to continue experimenting with the Randomize button.
And that’s it! You’ve now learned how to use the adjustment layer and gradient map in Adobe Photoshop to create unlimited dramatic color grading styles for your photos.
►SUBSCRIBE to my YouTube Channel: CLICK HERE
►JOIN or Become YouTube Member for Direct Downloads: CLICK HERE
►Support Me on Patreon for Instant Downloads: CLICK HERE


