Simple Smooth Skin-Photoshop Retouching Tutorial

Learn how to smooth skin in Photoshop. Today, we’re going to learn a really cool trick in Photoshop that will allow us to transform an outdoor portrait into a studio-quality low key photograph!
Simple Smooth Skin – Photoshop Retouching Tutorial:
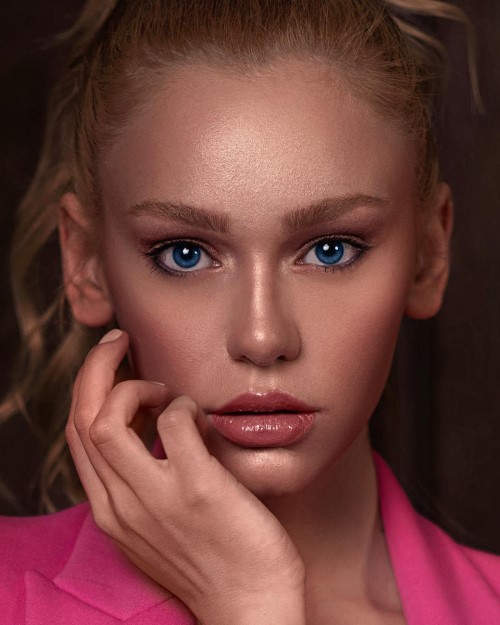
Learn an easy and simple skin retouching technique in Photoshop.
First, remove blemishes from the photo and duplicate the layer, naming it “Surface”. Then, duplicate the new layer and name it “Highpass”.
Apply image adjustments to the layer, convert it to a smart object, and change the blending mode to “Linear Light”. Use the Highpass filter to bring out skin details and apply the Surface Blur filter to the Surface layer.
Add a new layer and name it “Texture”. Convert it to a smart object, apply a texture filter, and change the blending mode to “Vivid Light”.
Group the layers and add a layer mask to selectively apply the retouching effect. Adjust the opacity and settings of the layers as needed.
Finally, add the final touches, such as a levels adjustment, to make the image look polished.
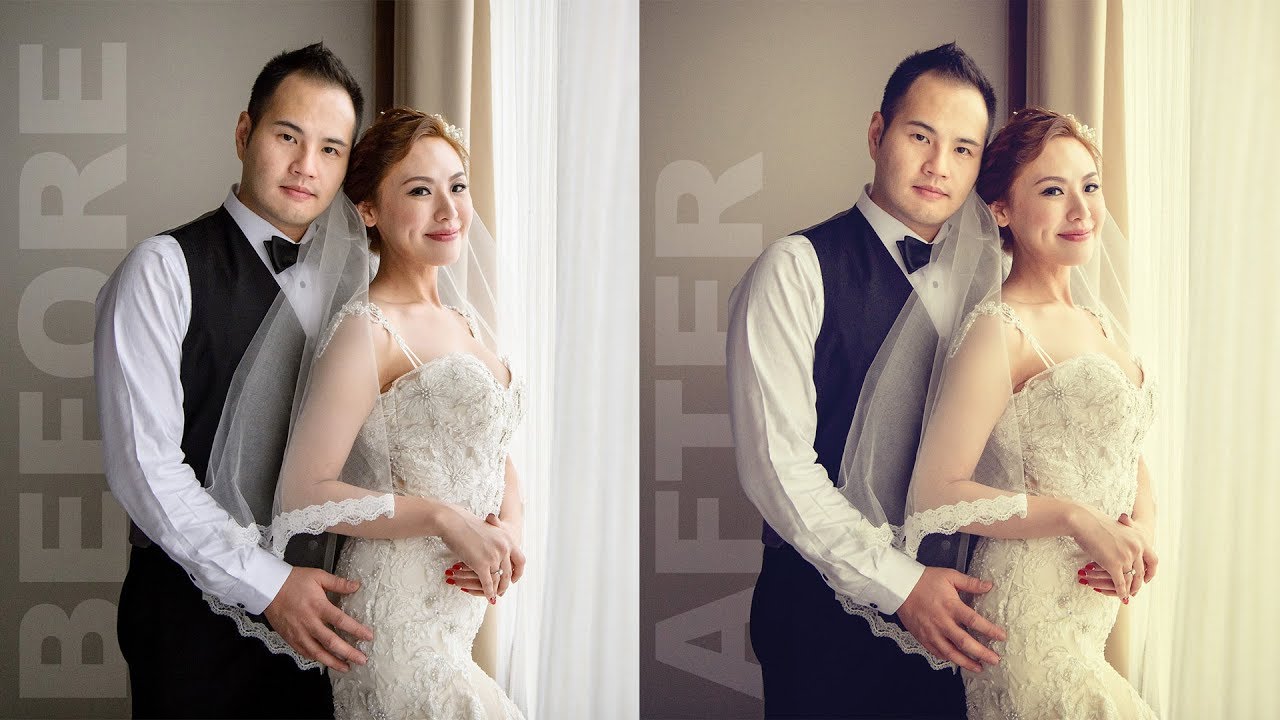
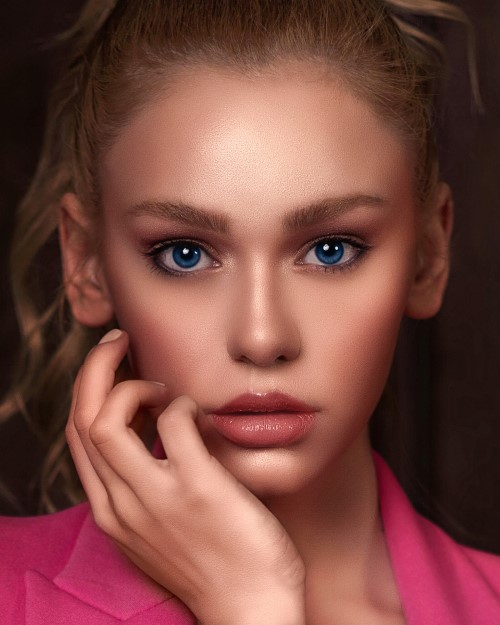
And that’s it! Here’s the before and after.
►SUBSCRIBE to my YouTube Channel: CLICK HERE
►JOIN or Become YouTube Member for Direct Downloads: CLICK HERE
►Support Me on Patreon for Instant Downloads: CLICK HERE