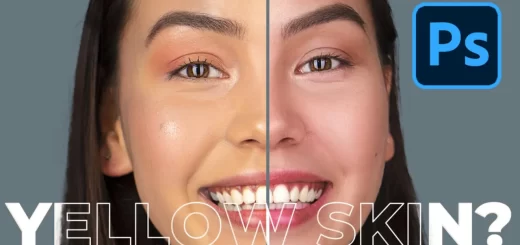
Skin Retouching Trick GENERATIVE FILL Photoshop!
In this Photoshop retouching tutorial, I’ll show you a simple trick to retouch skin in Photoshop AI using the generative fill feature. This technique can make a significant difference in your portrait photos. To demonstrate, I’ve selected a stunning portrait photo with dimensions of 4000×6000 pixels.
Skin Retouching: GENERATIVE FILL Photoshop Tutorial
To begin, open your image in Photoshop Beta since the generative fill feature is not available in the regular version. In the channels panel, add a new channel in black. Change the black color to a suitable shade of gray by pressing SHIFT+BACKSPACE and selecting “Color” with a brightness level of 40%.
Turn on the RGB channels, and then use the brush tool with black color to paint over areas like the eyes, nose, and mouth, preserving the facial features. Hold Ctrl or Command and click on the alpha 1 thumbnail to create a selection.
Hide the alpha 1 channel, select the RGB channel, and switch to the Layers tab. Click the generative fill button, leave the text prompt blank, and generate the results. Look for a face shape and skin tone that matches the desired outcome.
Lower the fill opacity to 65% or adjust to your preference. Invert the layer mask, use a white brush to reveal the new skin texture, and remove unwanted elements with the remove tool on a new layer.
To enhance the eyes, add a curves adjustment layer, brighten the image slightly, change the blending mode to “Color Dodge,” and paint over the iris with a white brush. Adjust the layer opacity as desired.
Congratulations! The skin retouching process is complete. You can further enhance the image by adding makeup or other adjustments. Compare the before and after images to see the transformation.
►SUBSCRIBE to my YouTube Channel: CLICK HERE
►JOIN or Become YouTube Member for Direct Downloads: CLICK HERE
►Support Me on Patreon for Instant Downloads: CLICK HERE


