Create Dreamy Fog Photos in Photoshop with Just 2 Sliders

In this video, today we will learn how to use just two sliders to create dreamy fog photos or realistic foggy effect in Photoshop in no time. So without any further ado, let’s get started.
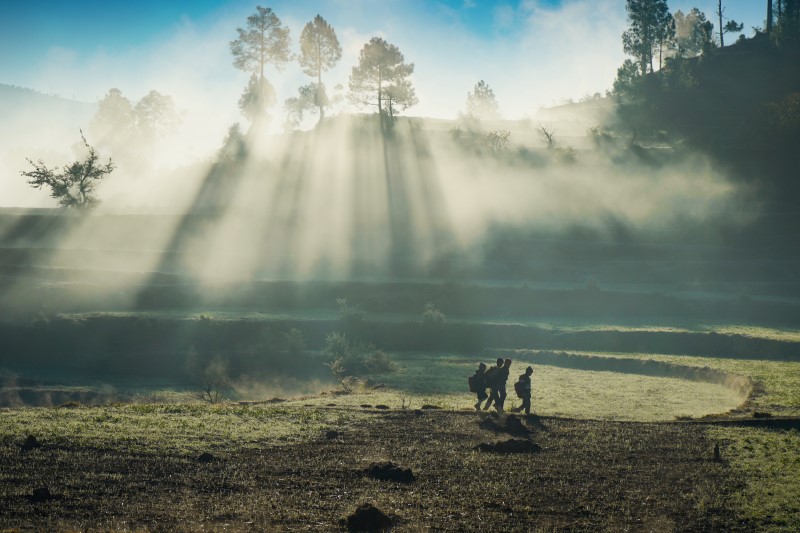
Dreamy Fog Photos in Adobe Photoshop Lightroom Tutorial:
I will provide a download link for the image (check the end of the post for links) which I’m using in this tutorial and if your image even has the slightest clue of fog, this technique will work great.
First of all, with the Background layer selected or the Image layer selected, press Ctrl or Command + J to make a copy.
Now, in this layer name, let’s double-click on the layer name, and let’s name it Fog. And with this layer selected, we’re going to apply Camera Raw, and before applying Camera Raw, We simply convert that into a Smart Object.
So with the Fog layer selected, let’s go to Filter and then Convert for Smart Filters and hit OK. Alright, so once this has been converted into a Smart Object, let’s go to Filter and then Camera Raw Filter. In Adobe Camera Raw, there is this slider that is made to remove haze. And that’s probably why we call it Dehaze.
So, let’s scroll down in the Basic panel right and you will find Dehaze. Now, the Dehaze slider can go to the right-hand side, however, do keep in mind that it can also go to the left-hand side. Now Dehaze, if moving to the right, removes the fog. If it moves to the left, it adds fog or haze.
Let’s just take it to the left. And as you do that, have a look, the fog keeps on increasing. Now, I’m going to go a little over the board to show you the extreme foggy effect. You can, of course, dim it down. So, let’s go ahead and take it all the way to the left.
Now the second slider, which is very important here to complement the effect is Contrast. Let’s just scroll up and you will find Contrast. Take it to the right-hand side. I’m going to take it about at about 80-90%, and hit OK. And you’re pretty much done.
Now you can go ahead and mask it out, do whatever you want. So, what I’m going to do is simply create a mask by clicking on the Mask button. Now, when it comes to haze or fog, do keep in mind, the closer the things are, the clearer it’s going to be and the further things are going to be foggy.
Simple, right?
So with the Mask selected, click on the Gradient tool right there. And we’re going to make a gradient from black
to white. Just make sure the Gradient – Black to White is chosen and hit OK.
And then we’re going to make a Gradient from the bottom portion of the image. See in the video, the closest land is clearer and as it’s getting further, it’s becoming more and more foggy. And that’s how fog works.
Now to show off the clouds, let’s take the fog away a little bit from the top. So with the Masks still selected, and this time Black to White will not work, you will have to use Foreground to Transparent. So, make sure that the foreground color is black by pressing X to toggle between the foreground and the background. And then, click on the Gradient, and this time, choose Foreground to Transparent and hit OK. And we’re going to take it from the top.
Now, if you want less fog, you can always go ahead and decrease the Opacity. If you want more fog, you can double Click on the Camera Raw filter and then take the values to the extreme.
And that’s how you simply add fog to your photo. I hope this tutorial made sense to you and if it did, do make sure to give us a like and also don’t forget to subscribe and not just subscribe, and ring the bell so that you, my friend, don’t miss any other future tips, tricks or tutorials.
►Download This Tutorial Photo for Practice: CLICK HERE
►SUBSCRIBE to my YouTube Channel: CLICK HERE
►JOIN or Become YouTube Member for Direct Downloads: CLICK HERE
►Support Me on Patreon for Instant Downloads: CLICK HEREd