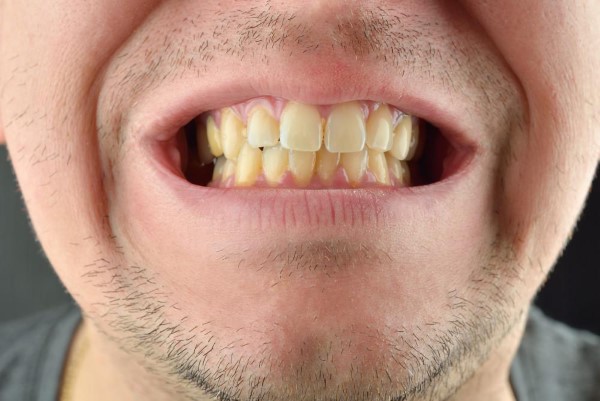
Photoshop Teeth Whitening Tutorial – Fix Yellow Teeth in photos

learn how to Photoshop Teeth Whitening Tutorial? Because today, I am super excited to share this awesome technique with you! Whiter teeth can really make a photo pop and give your subjects an extra boost of confidence. So, let’s dive right into it!
Photoshop Teeth Whitening Tutorial:
First things first, to whiten teeth in Photoshop, we need to create a Hue/Saturation adjustment layer. It’s a super simple process that involves just a few clicks. Just head over to the Layers panel and click on the “Create new fill or adjustment layer” icon. From there, select Hue/Saturation.
Now, let’s target those pesky yellow tones that make teeth appear less white. Choose yellow from the drop-down menu, and decrease the saturation while increasing the lightness. And just like that, you’ve got whiter teeth! It’s really that simple.
But wait, don’t stop there! Sometimes, the adjustment can affect other parts of the image as well, such as the subject’s skin. But don’t worry, we can fix that. To refine the adjustment, select the mask on the Hue/Saturation adjustment layer and press Ctrl or Command + I to invert the mask. Then, select a soft, round brush and set the foreground color to white. Now, paint over the teeth with the brush to reveal the adjustment only on the teeth.
Now, if you notice that there are still areas that are affected by the adjustment that shouldn’t be (like the gums), you can go back to the Hue/Saturation properties by double-clicking on the thumbnail. From there, go back to the Yellows and play around with the range to choose which ranges of color are affected. If the gums are being affected, make the range narrower. And voila! You’ve got perfect teeth!
►SUBSCRIBE to my YouTube Channel: CLICK HERE
►JOIN or Become YouTube Member for Direct Downloads: CLICK HERE
►Support Me on Patreon for Instant Downloads: CLICK HERE